How we make our shells
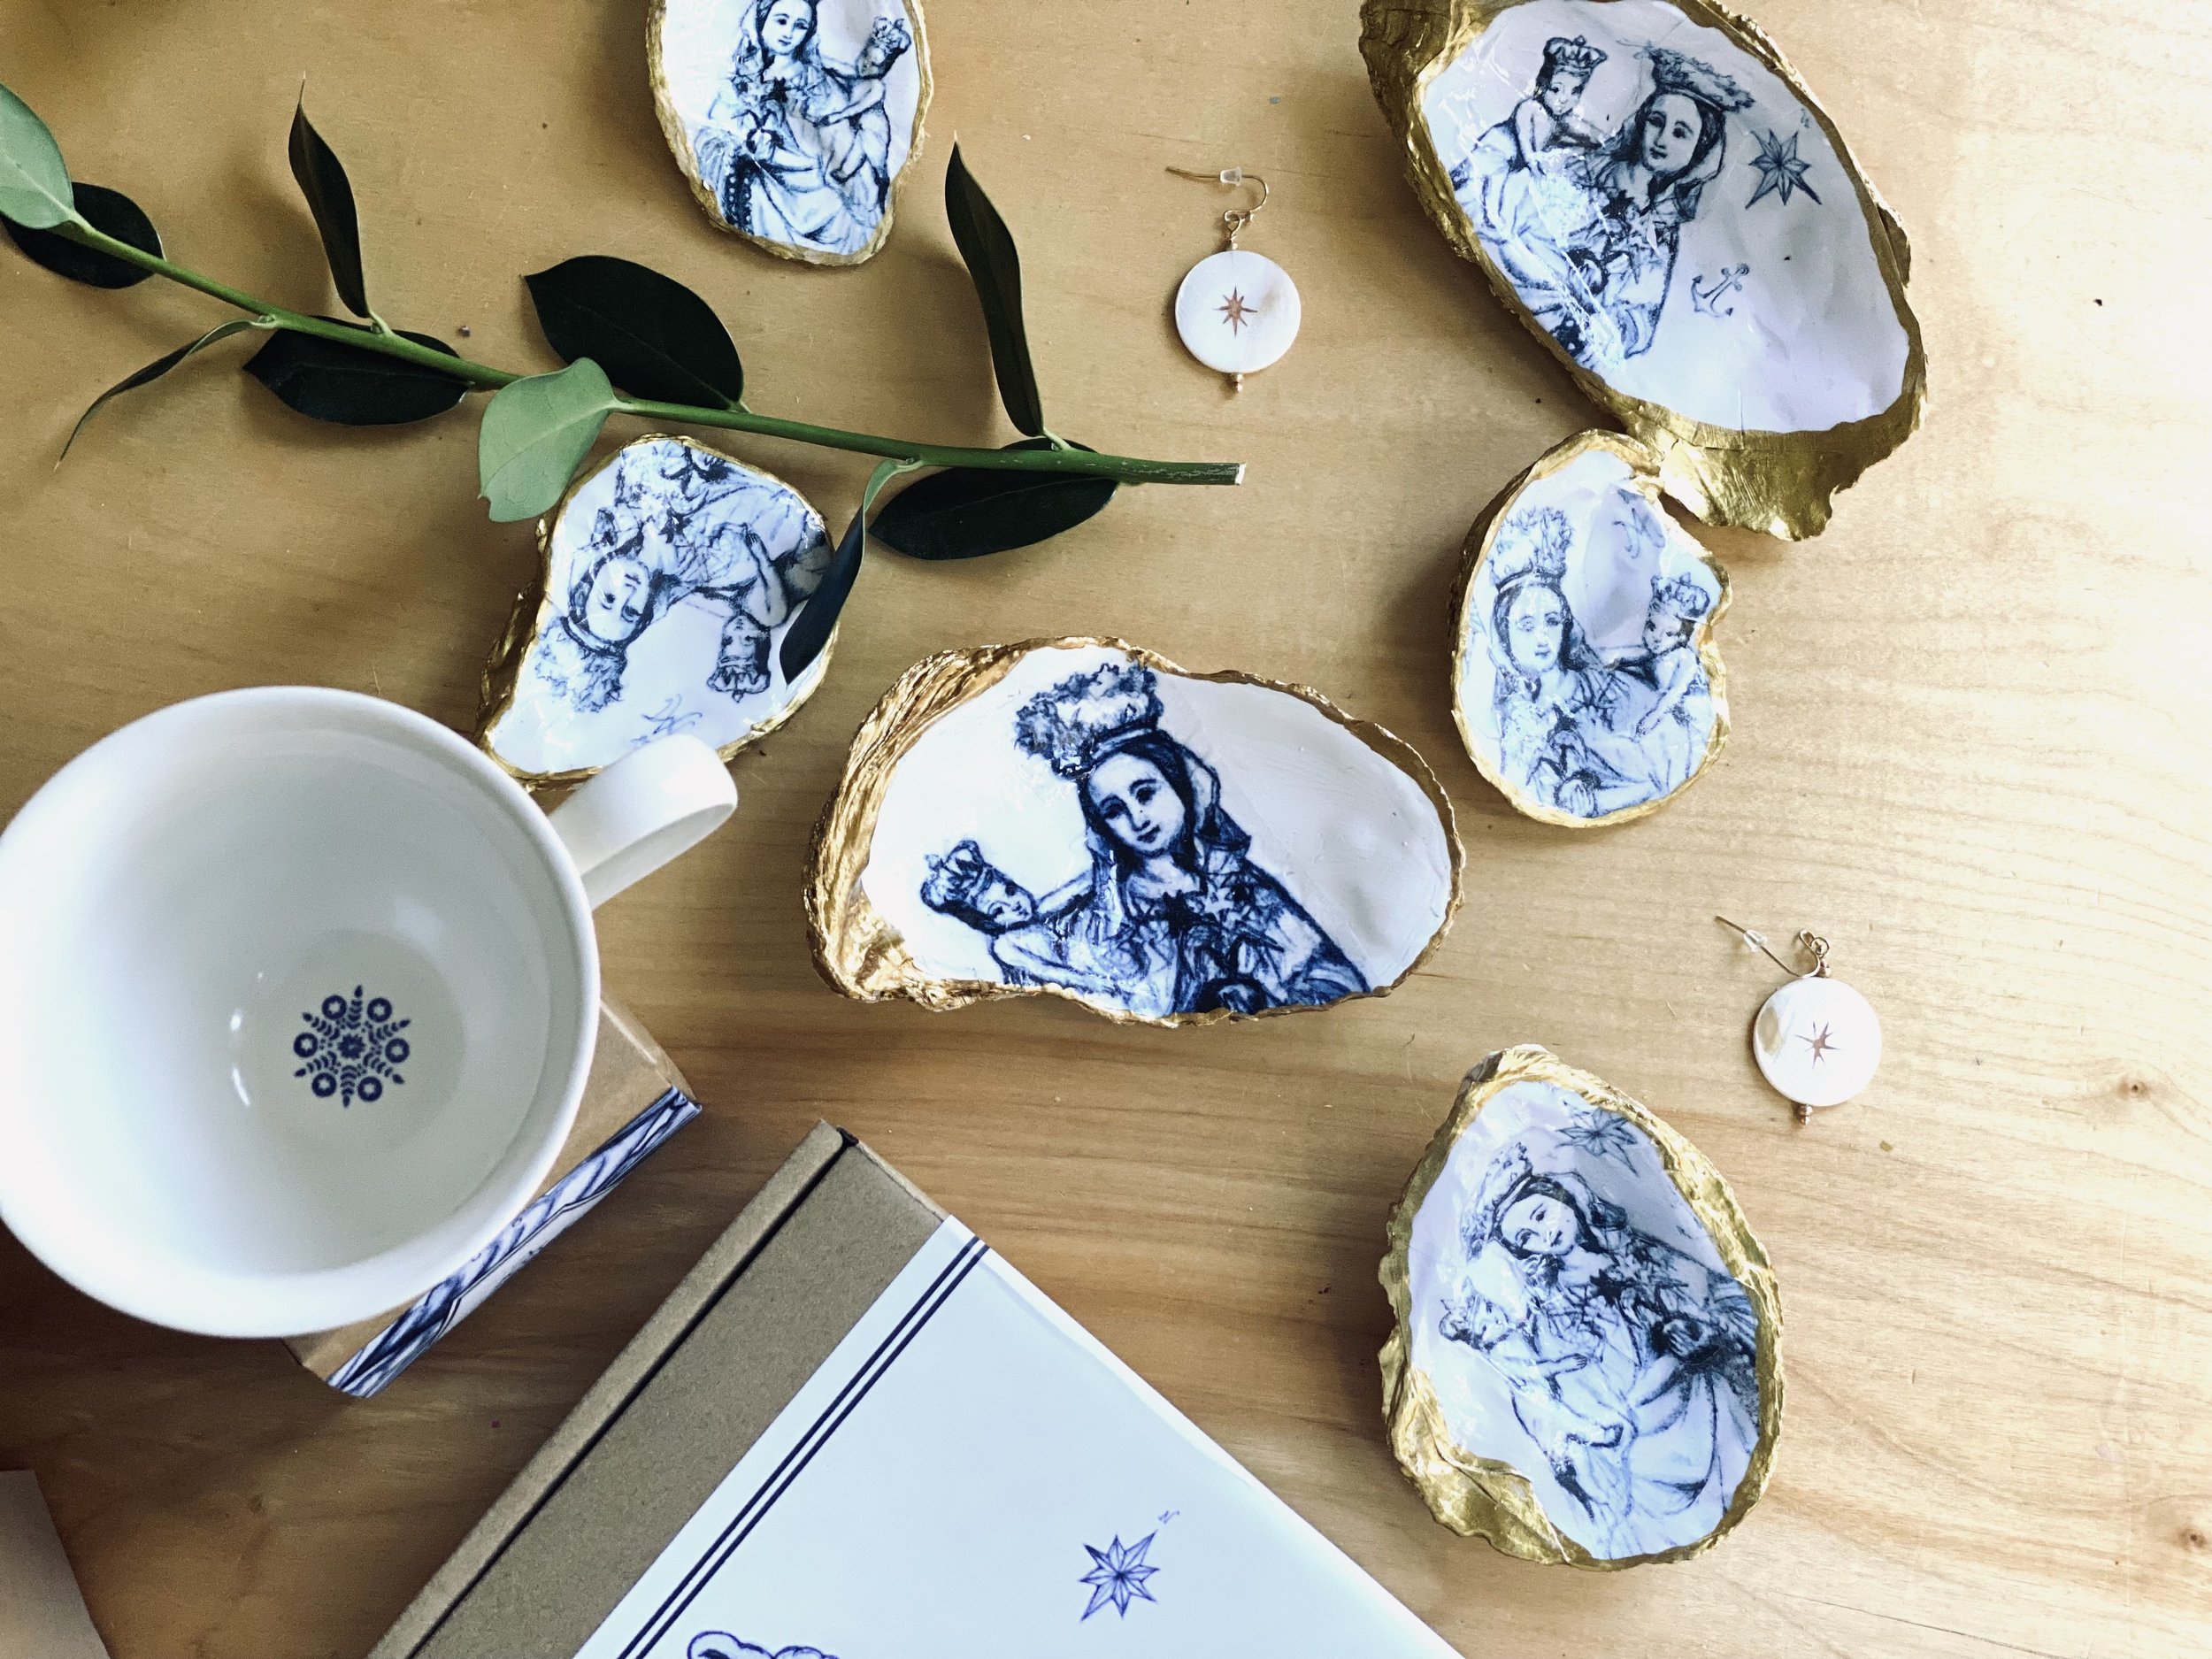
I’ve been working on a small flight of Stella Maris shells, and I wanted to share our process. It’s a process we’ve been developing since last June, and I’m sure it will continue to evolve. We hope to add a decoupage artisan to our collective, but for now, this is something we do in-house.
Decoupaged shells are popular right now, and lovely examples can be found all over Etsy. Most of these feature attractive patterns that come pre-printed on napkins or decoupage rusks. Our idea was to turn this fashionable decoration into a devotional item that could grace a prayer table or be held as a comfort object.
To do this, we needed to transfer our artwork into a form that works for decoupage. We’ve done a fair bit of experimentation with different papers and printing processes.
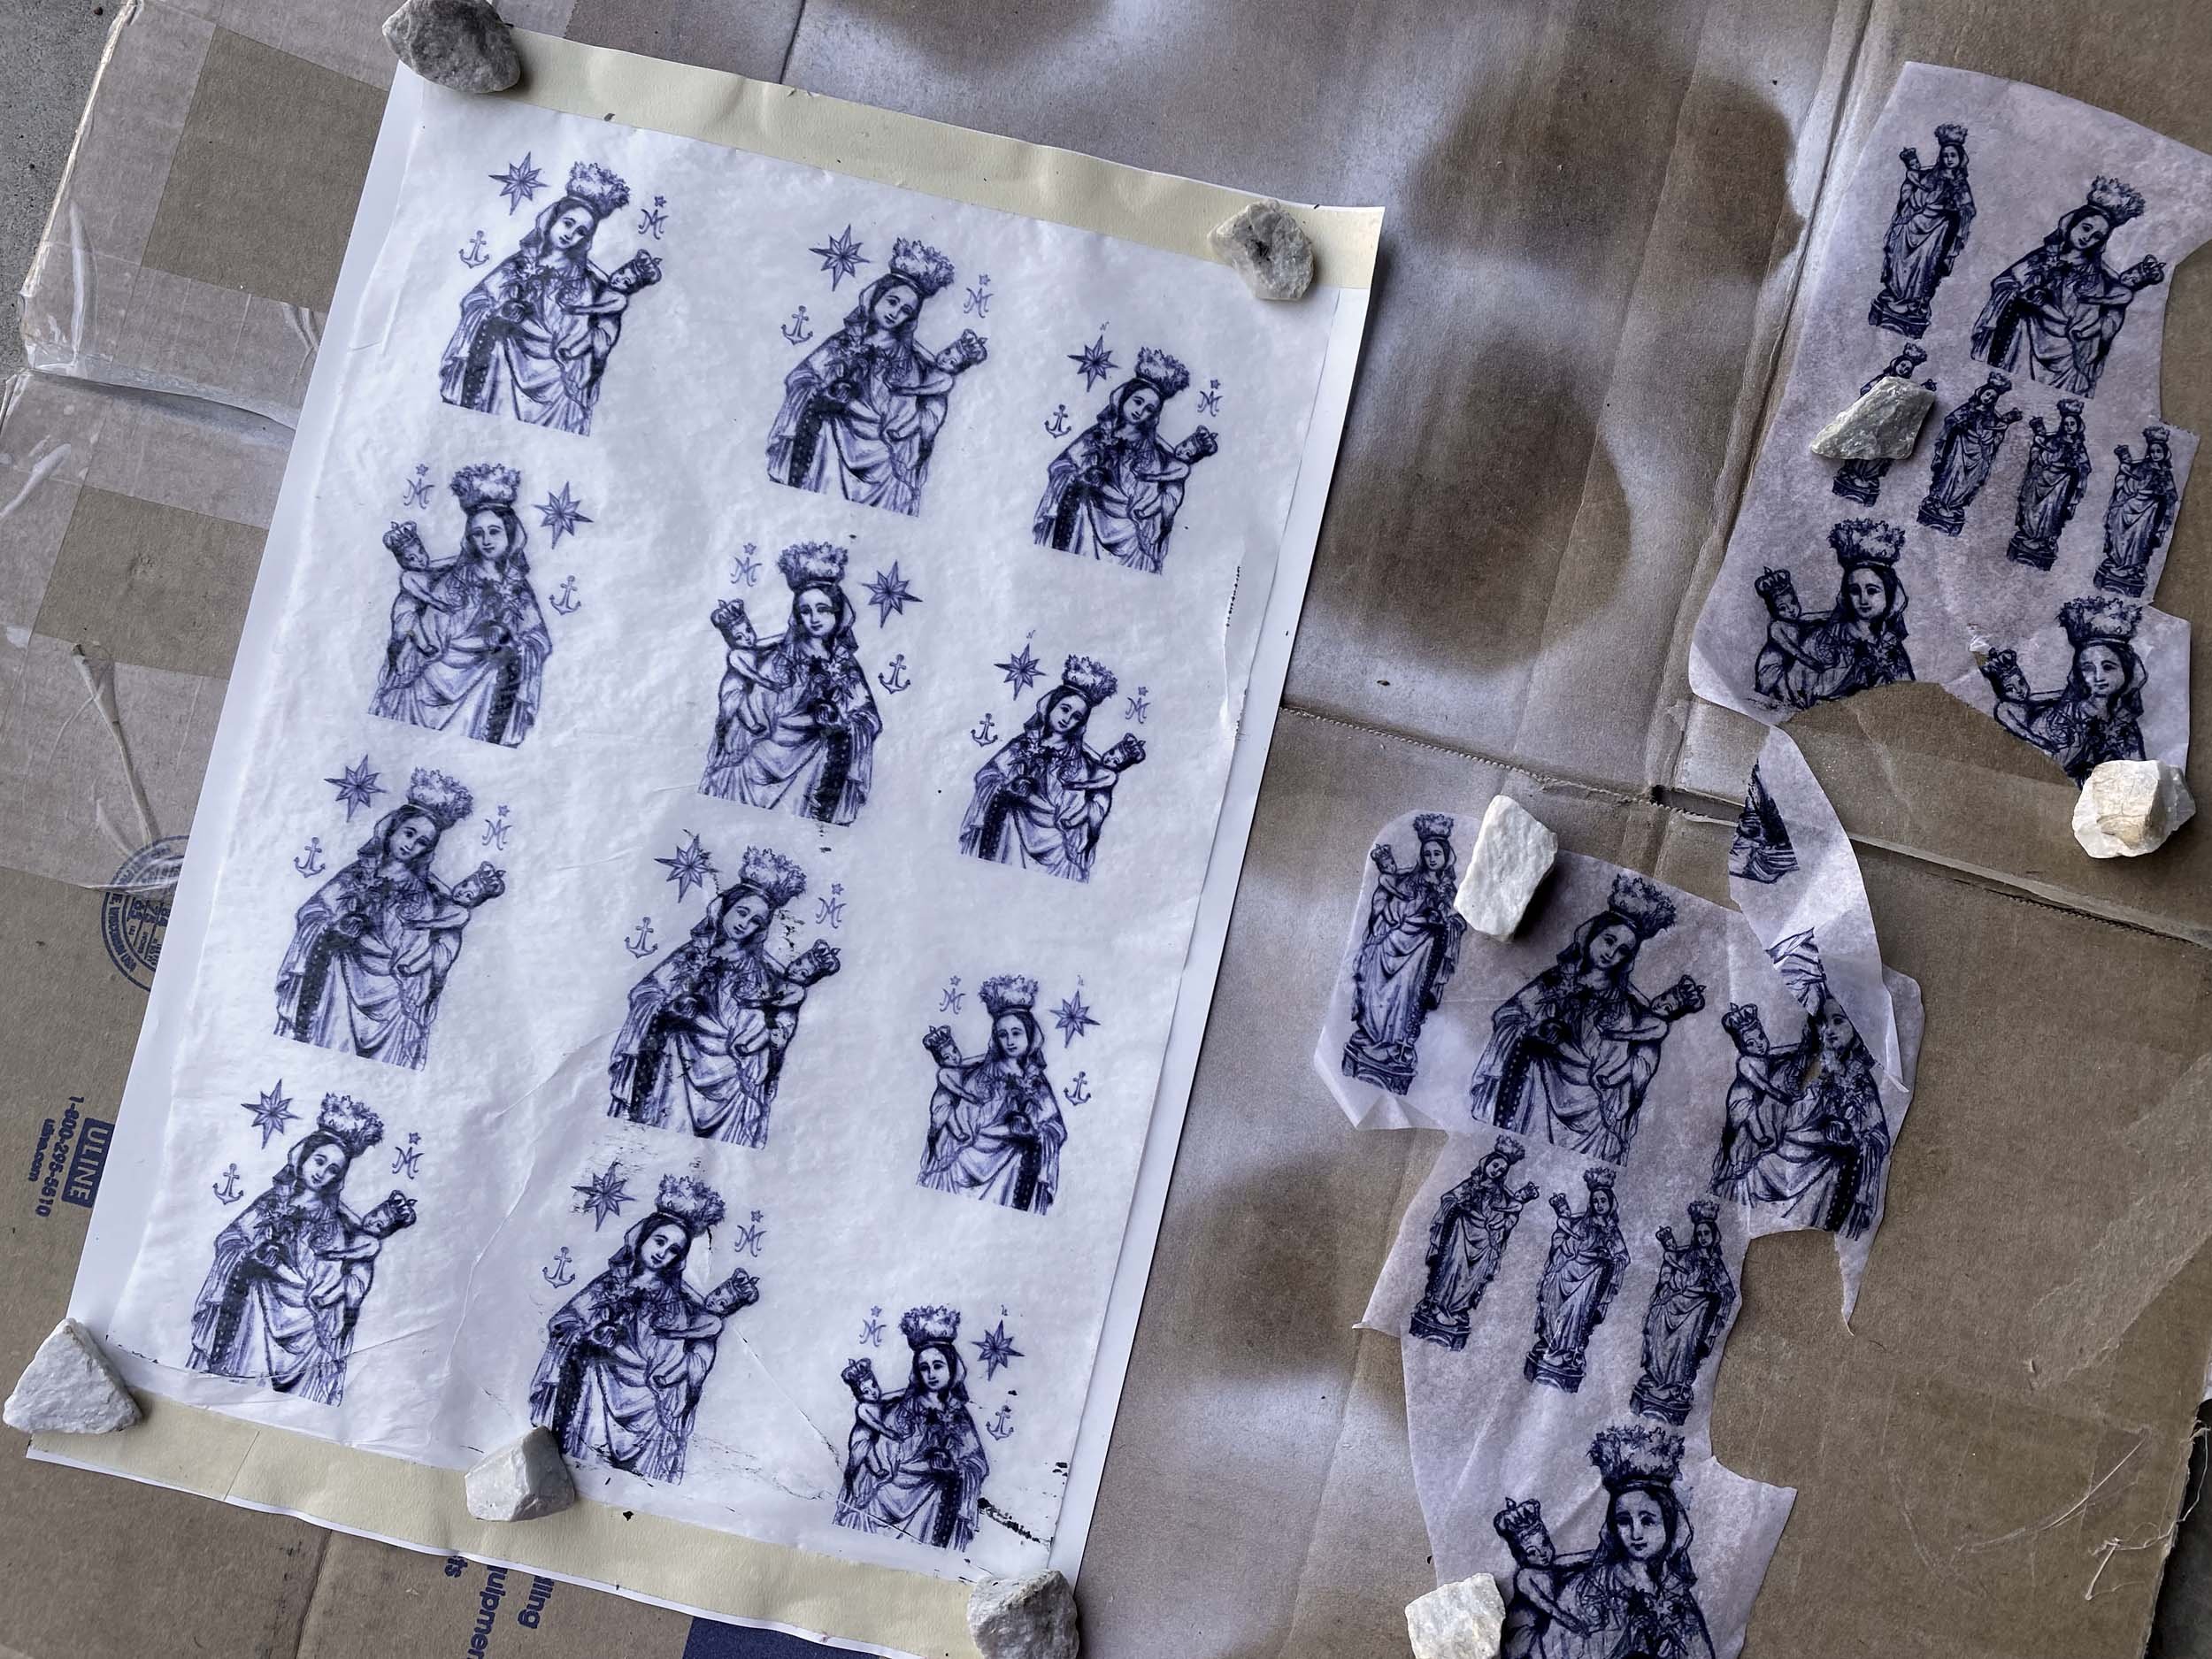
In our current process, we print our artwork on tissue paper. This is a finnicky process, requiring that the tissue paper be taped onto heavy weight paper and fed it through the inkjet photo printer. Before it’s used for decoupage, we spray the printed tissue paper with acrylic sealer to help set the image and preserve it from bleeding. Once the paper is dry, we fussy-cut our Madonna image, removing the negative space for a cleaner look.
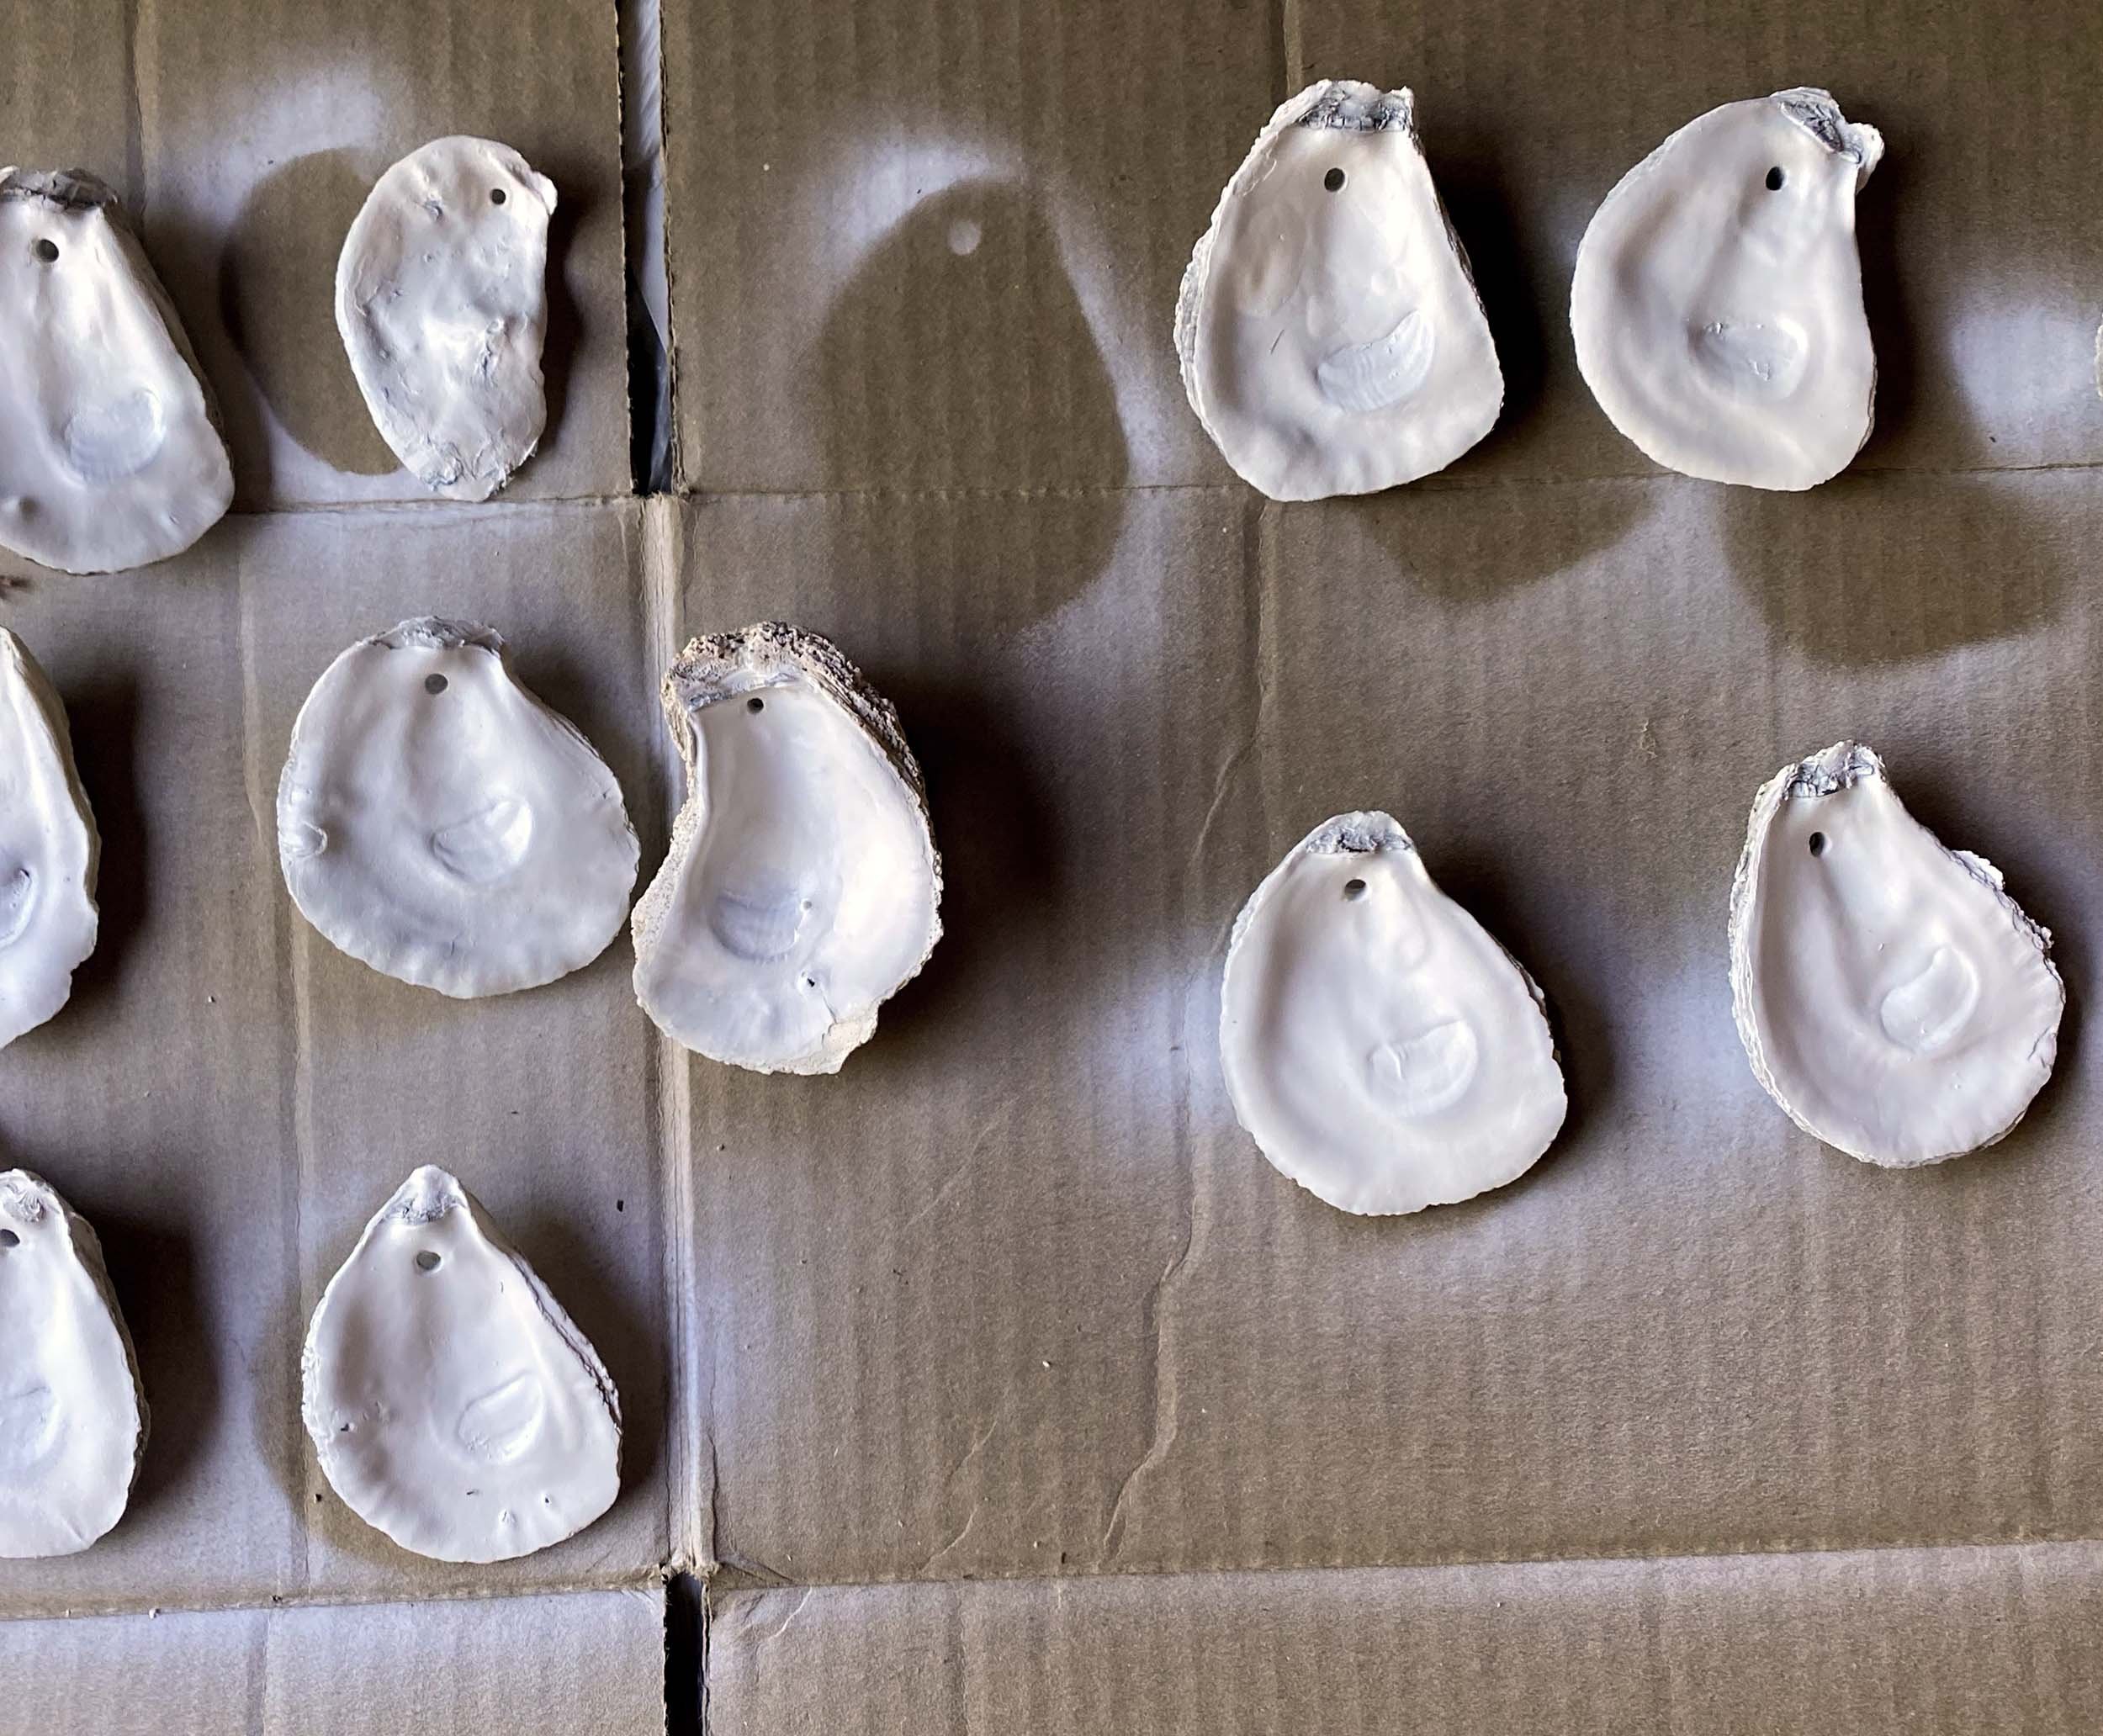
The shells are sprayed with a primer to make them a flat white, and each of the cup shells is examined on the table to check how it sits on a flat surface.
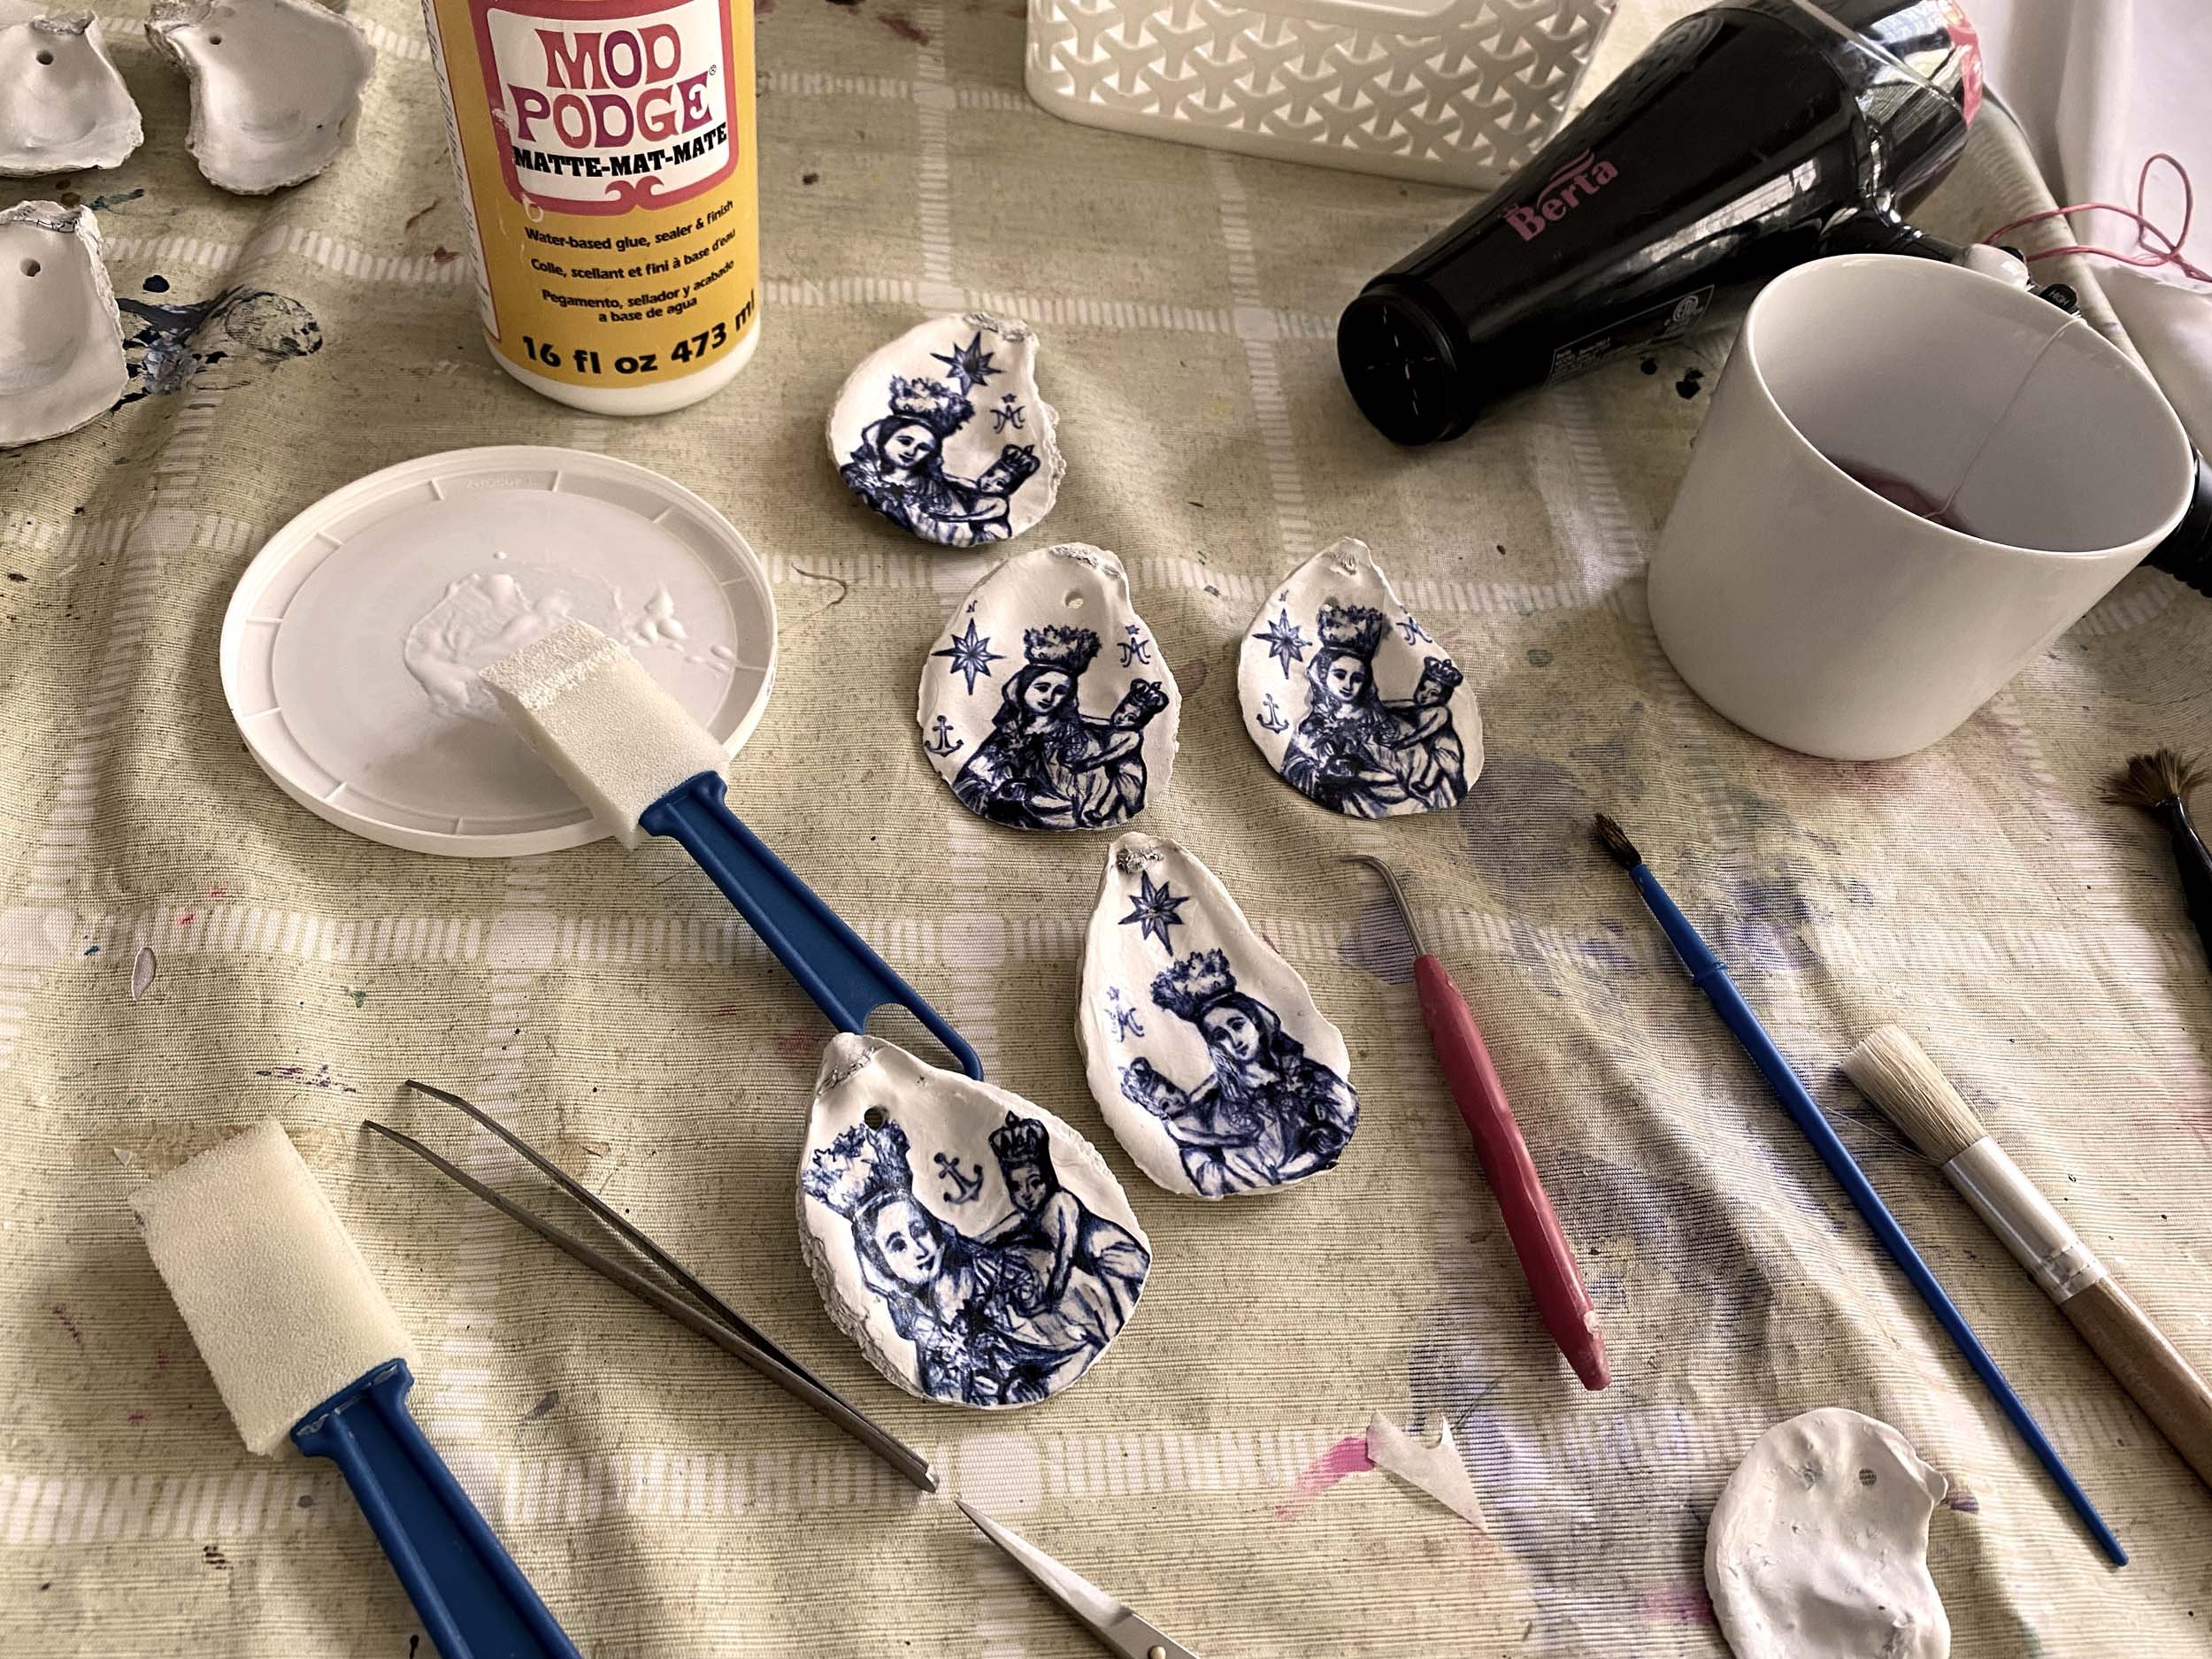
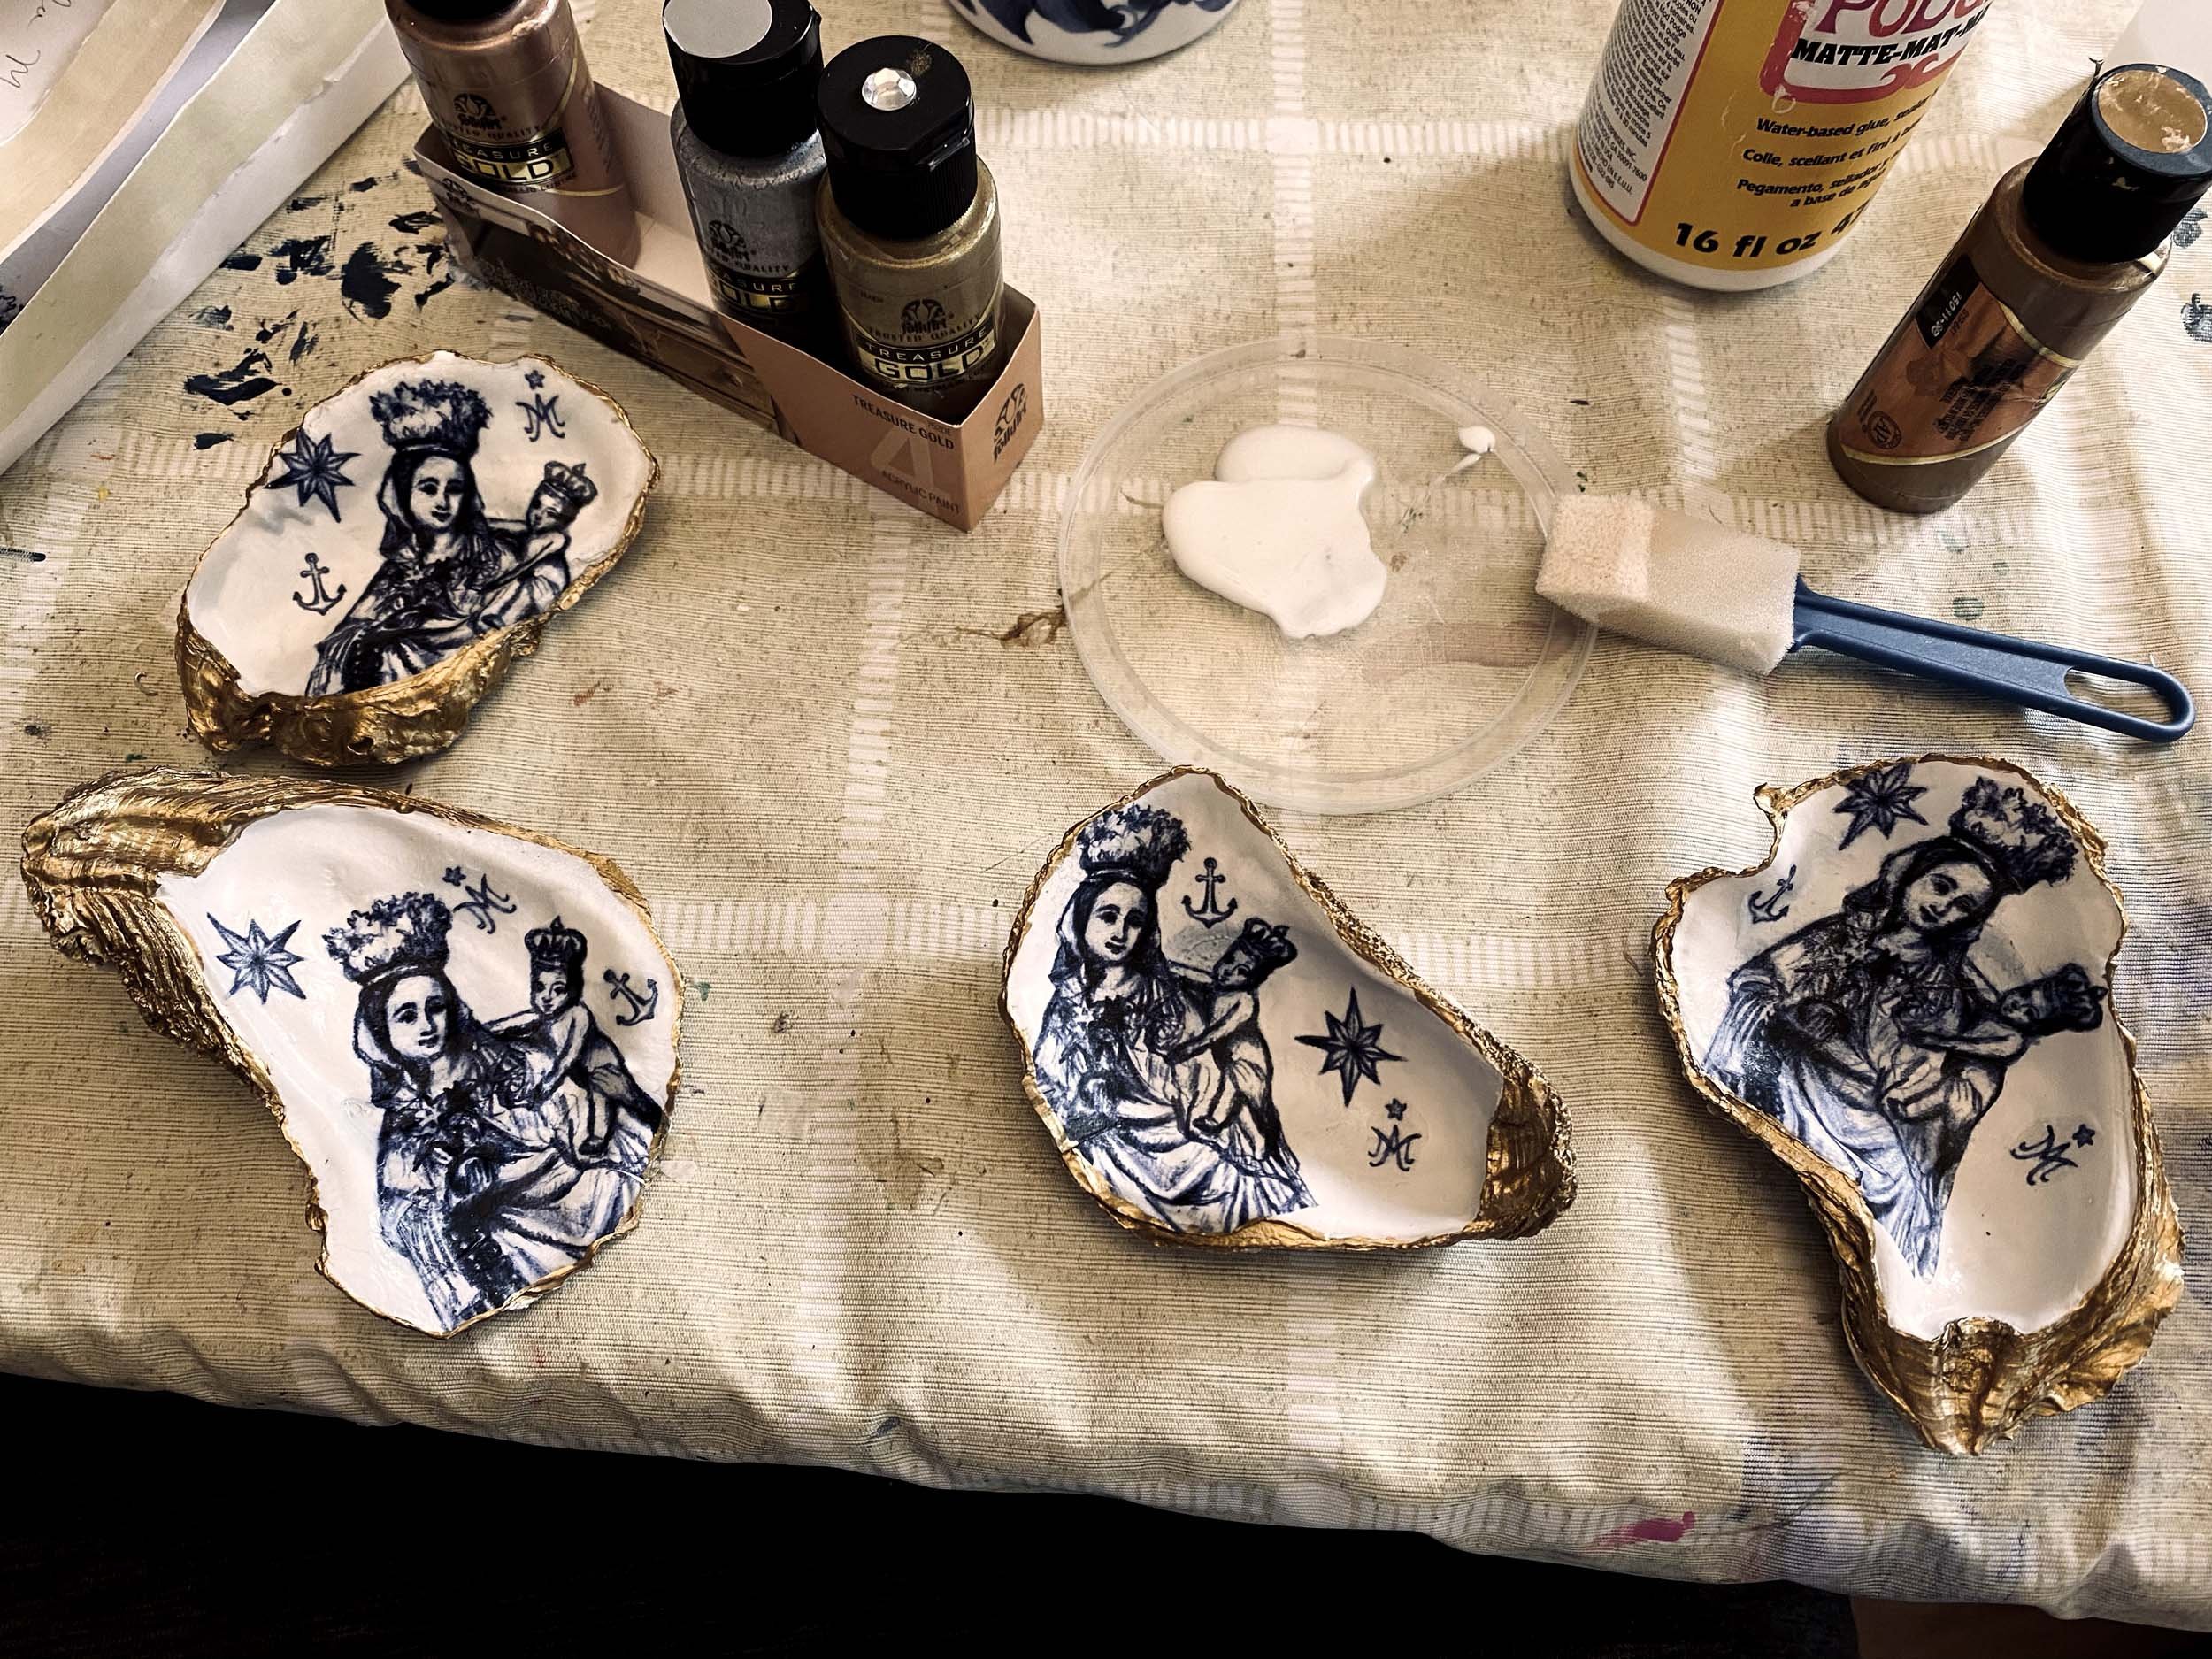
Then it becomes time to match each shell with an image. We try different orientations, sizes and positions for the Madonna. Ideally, her figure will be upright with the rise of the shell and she and the infant Christ will seem nestled but not cramped by its curves. The image will need to bend and sometimes overlap to conform to the shape of the shell. The priority is to make sure that the faces are smooth and undistorted. Once the placement is decided, we use Mod Podge to glue the Madonna and Christ child on the shell. Despite the acrylic sealer, there’s usually some blurring of the ink, giving it a softened, antique look. Since we don’t want the bleed to go too far, we hasten the drying of the glue with a hairdryer. After the Madonna is set, we place the Stella Maris symbols around her. Not every symbol makes it onto each shell. It depends on the spacing and shape of the particular shell. This creates variety and choice in the production, keeping the process fresh and making every shell unique.
Once the glue is sufficiently dried, we add the gilding paint. For our Stella Maris shells, we use a lovely coppery paint that looks like high-karat gold. For our Miscarriage shells, we use a more ethereal blend of gold and silver.
After gilding, we seal the cup of the shell with a high-gloss acrylic sealer. This both protects the image and gives it a lovely brilliance and smoothness. I love the contrast between the craggy texture of the outer shell and the smoothness of the cup.
That’s our process! We hope these shells provide a little loveliness on a shelf, table or night-stand, and may occasionally serve as a focal point for contemplation. We’d love to hear your suggestions and thoughts!

